Vapor Barrier vs. Full Encapsulation: An Honest Comparison
One of these is a $3,500 job. The other is a $10,000 job. Here's how to tell which one your crawl space actually needs — including when the cheaper option is the right call.
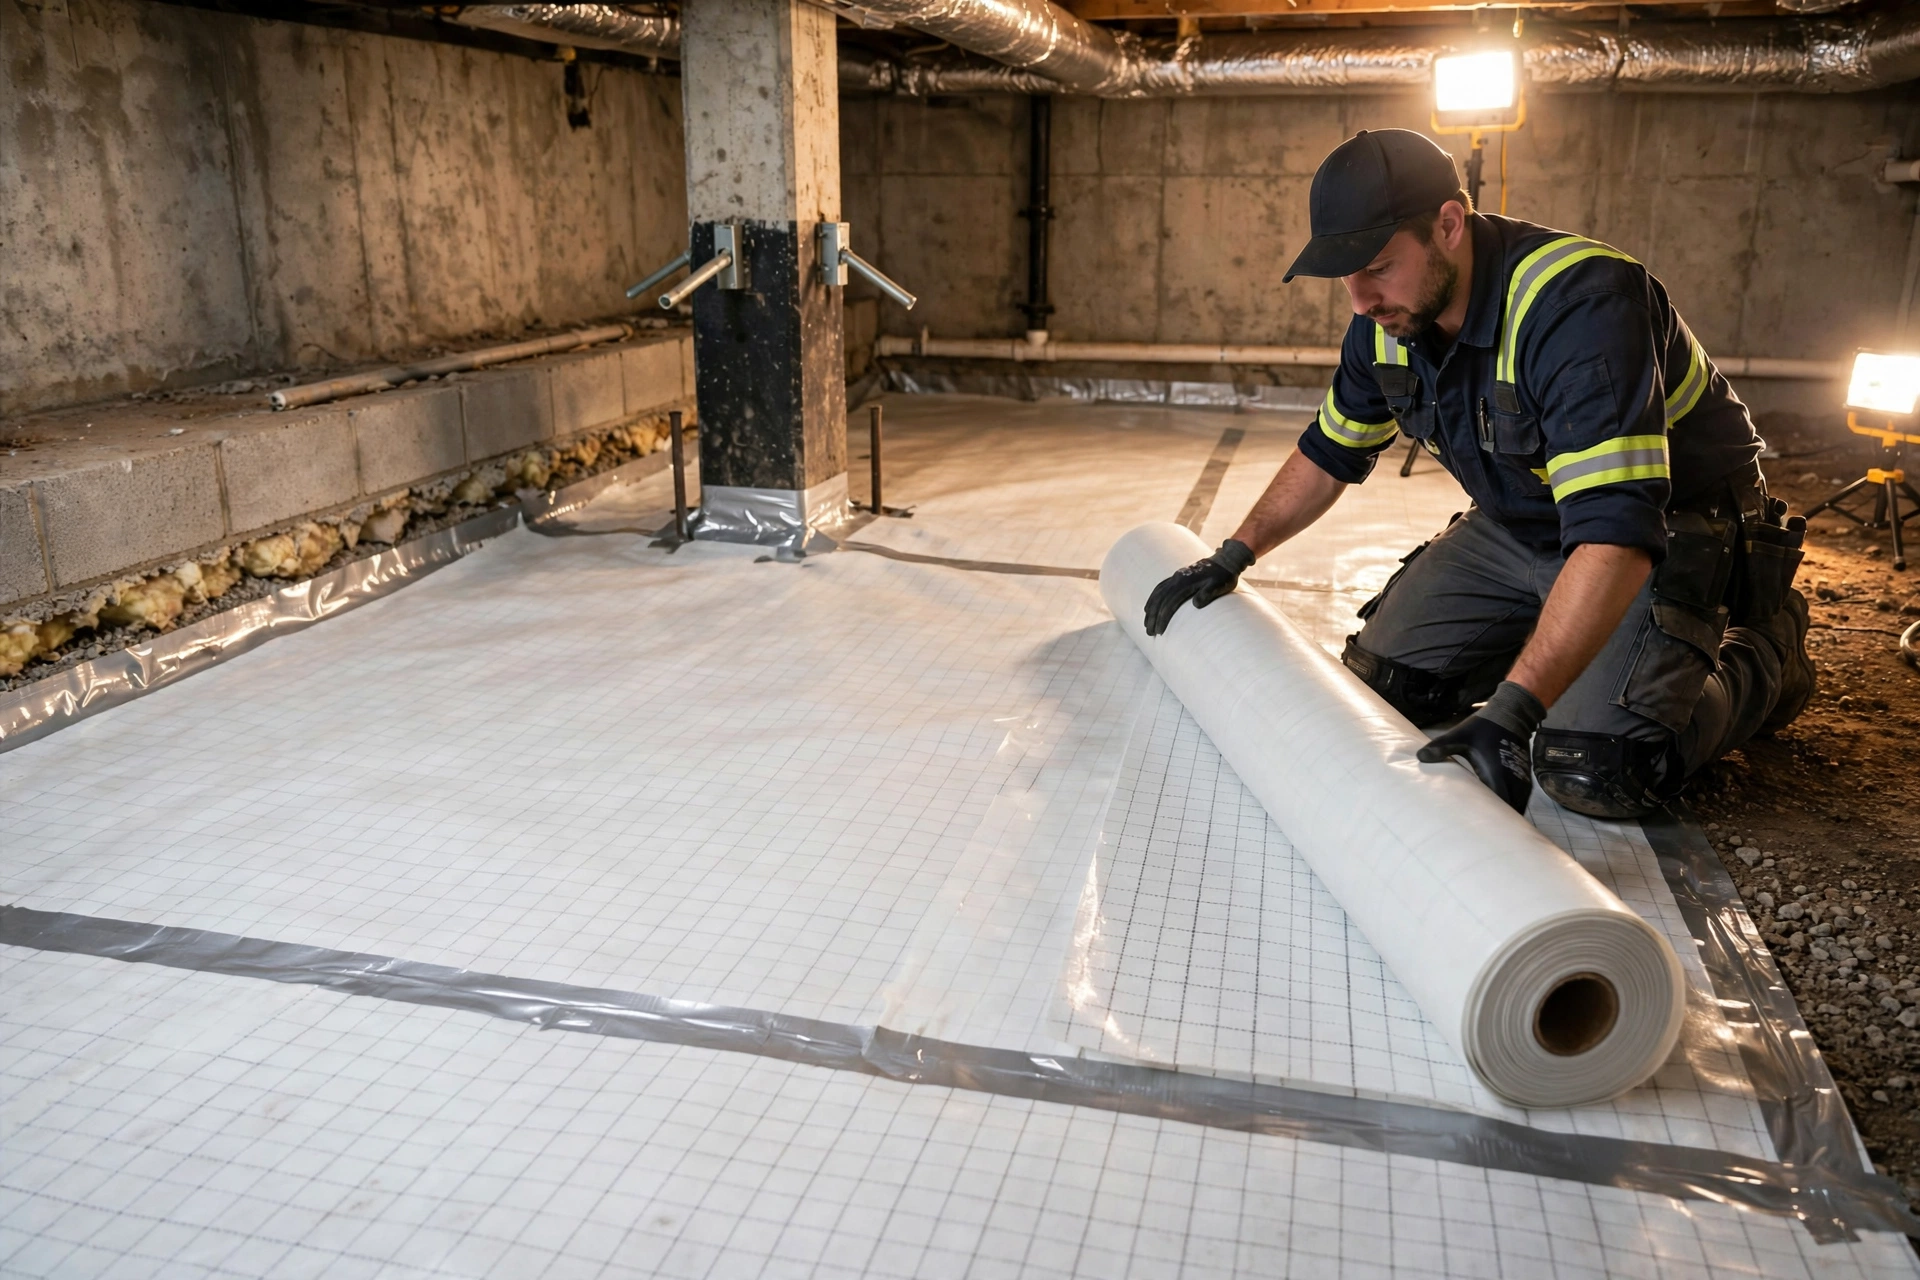
A vapor barrier alone (plastic sheeting on the ground) blocks moisture rising from the soil. Full encapsulation does that plus seals the vents, insulates the walls, and actively dehumidifies the air. In Hoover's humidity, barrier-only jobs frequently disappoint — the ground stays dry while humid air keeps feeding mold on the joists.
We install both. We make more money on full encapsulation. And we still talk homeowners out of it regularly — because the right answer depends on your crawl space, not our revenue. Here's the full picture so you can decide with eyes open.
Head-to-Head Comparison
| Barrier-Only | Full Encapsulation | |
|---|---|---|
| What's included | Reinforced liner on the ground, overlapped and taped | Liner on ground + walls, sealed vents, air sealing, wall insulation, dehumidifier |
| Typical cost (Hoover) | $2,500–$5,000 | $5,000–$15,000 |
| Ground moisture | Blocked effectively | Blocked effectively |
| Humid air control | Minimal — vents still breathe humid air | Full — sealed envelope + active dehumidification |
| Mold prevention | Partial — helps the ground, not the air | Strong — controls both moisture sources |
| Energy impact | Small | ~15% HVAC savings typical |
| Lifespan | 15–20 years (liner) | 15–25 years (system; mechanicals 10–15) |
| Install time | 1–2 days | 2–4 days |
| Best for | Dry crawl spaces needing a moisture upgrade; tight budgets; newer homes with good drainage | Damp or wet spaces; mold history; musty odors; homes where the crawl space affects living space |
When Barrier-Only Is Enough
We'll be the first to tell you when you don't need the full system. Barrier-only is the right call when:
- Your crawl space is dry with no moisture history. No standing water, no mold, wood moisture readings under 16%. You're upgrading prevention, not fighting an active problem.
- Your home is newer with good exterior drainage. Proper grading, working gutters discharging away from the foundation, no hydrostatic pressure signs — the envelope is already doing half the work.
- Budget is the constraint and the space is dry. A 20-mil barrier now is vastly better than the shredded 6-mil builder plastic you have. You can add the dehumidifier later — and we'll tell you exactly what that phase-two would look like.
- You're selling soon and need the inspection flag cleared. A clean, freshly lined crawl space photographs well and satisfies most buyers' inspectors without the full-system price tag.
In these cases, paying for full encapsulation is paying for protection you don't need yet. We'd rather do the barrier job well and earn your referral than oversell you.
When Barrier-Only Is a Waste of Money
The flip side — and the mistake we see most often — is a barrier-only job sold into a crawl space that needed the full system. It fails predictably:
- Active water intrusion. Laying plastic over a space that takes on water just gives you a waterbed with a warranty exclusion. Drainage has to come first — always.
- Existing mold on joists or subfloor. A barrier does nothing for mold that's already growing on wood above it. Remediate first, then decide on the system.
- Musty odors in the living space. If the smell is already in the house, ground moisture isn't your only problem — humid air is. Vents stay open in a barrier-only job, and that humid air keeps flowing.
- Condensation on ducts and pipes. That's airborne humidity condensing on cool surfaces. Ground plastic doesn't touch it. Only sealing and dehumidification do.
We've been called in to redo barrier-only jobs that failed within two years — the homeowner paid twice. The cheapest job is the one you only do once.
Can I Start With a Barrier and Upgrade Later?
Yes — and for budget-conscious homeowners with a dry-ish crawl space, it's a legitimate strategy. But it only works if the barrier job is done to full-system standards from day one:
- Use the 20-mil reinforced liner, not the cheap stuff. You're building the foundation of the future system — don't build it twice.
- Seal it like you mean it — overlapped seams, sealed piers and penetrations, wrapped up the walls. A sloppy barrier can't be "upgraded"; it has to be redone.
- Plan the dehumidifier rough-in now — have the contractor note where the unit will go and where condensate will drain. Retrofitting drainage through a finished barrier is annoying and avoidable.
- Know the trigger for phase two: if humidity readings stay above 60% through a Hoover summer, or musty odors appear, it's time. We'll tell you what to watch for.
What doesn't phase well: drainage and mold. If the space needs a French drain or remediation, that happens first, in full, before any barrier goes down. There's no partial credit on water management.
Our Recommendation Framework
When we inspect your crawl space, here's the decision tree we actually follow — the same one we'd use on our own houses:
Is there standing water or active intrusion?
Yes → drainage first, then full encapsulation. No → continue. This question overrides everything else.
Is there mold on framing or subfloor?
Yes → remediate, then full encapsulation (the moisture that grew it is still there). No → continue.
Are wood moisture readings above 19%?
Yes → the space can't dry itself; full system with dehumidification. Readings 16–19% → borderline; barrier plus monitoring may suffice. Under 16% → continue.
Is the living space affected?
Musty smells, cupped floors, humidity you can't control upstairs → full encapsulation. The crawl space is already costing you comfort and energy.
None of the above?
Dry space, good readings, no symptoms → quality barrier-only job. Save the difference. We'll tell you what to watch for and when to call us back.