Vapor Barrier Installation in Hoover, AL
Barrier-only vs. full encapsulation, explained honestly: what a vapor barrier does, what it can't do, and when it's the right call — versus when it's money wasted.
This is the page where we talk some homeowners out of spending more. A vapor barrier is the simplest, cheapest intervention in the crawl space world — a heavy-duty liner over the soil that blocks ground moisture from rising into the space. Sometimes that's exactly what a home needs. Sometimes it's a bandage on a problem that needs surgery. After hundreds of Hoover crawl spaces, here's how we tell the difference.
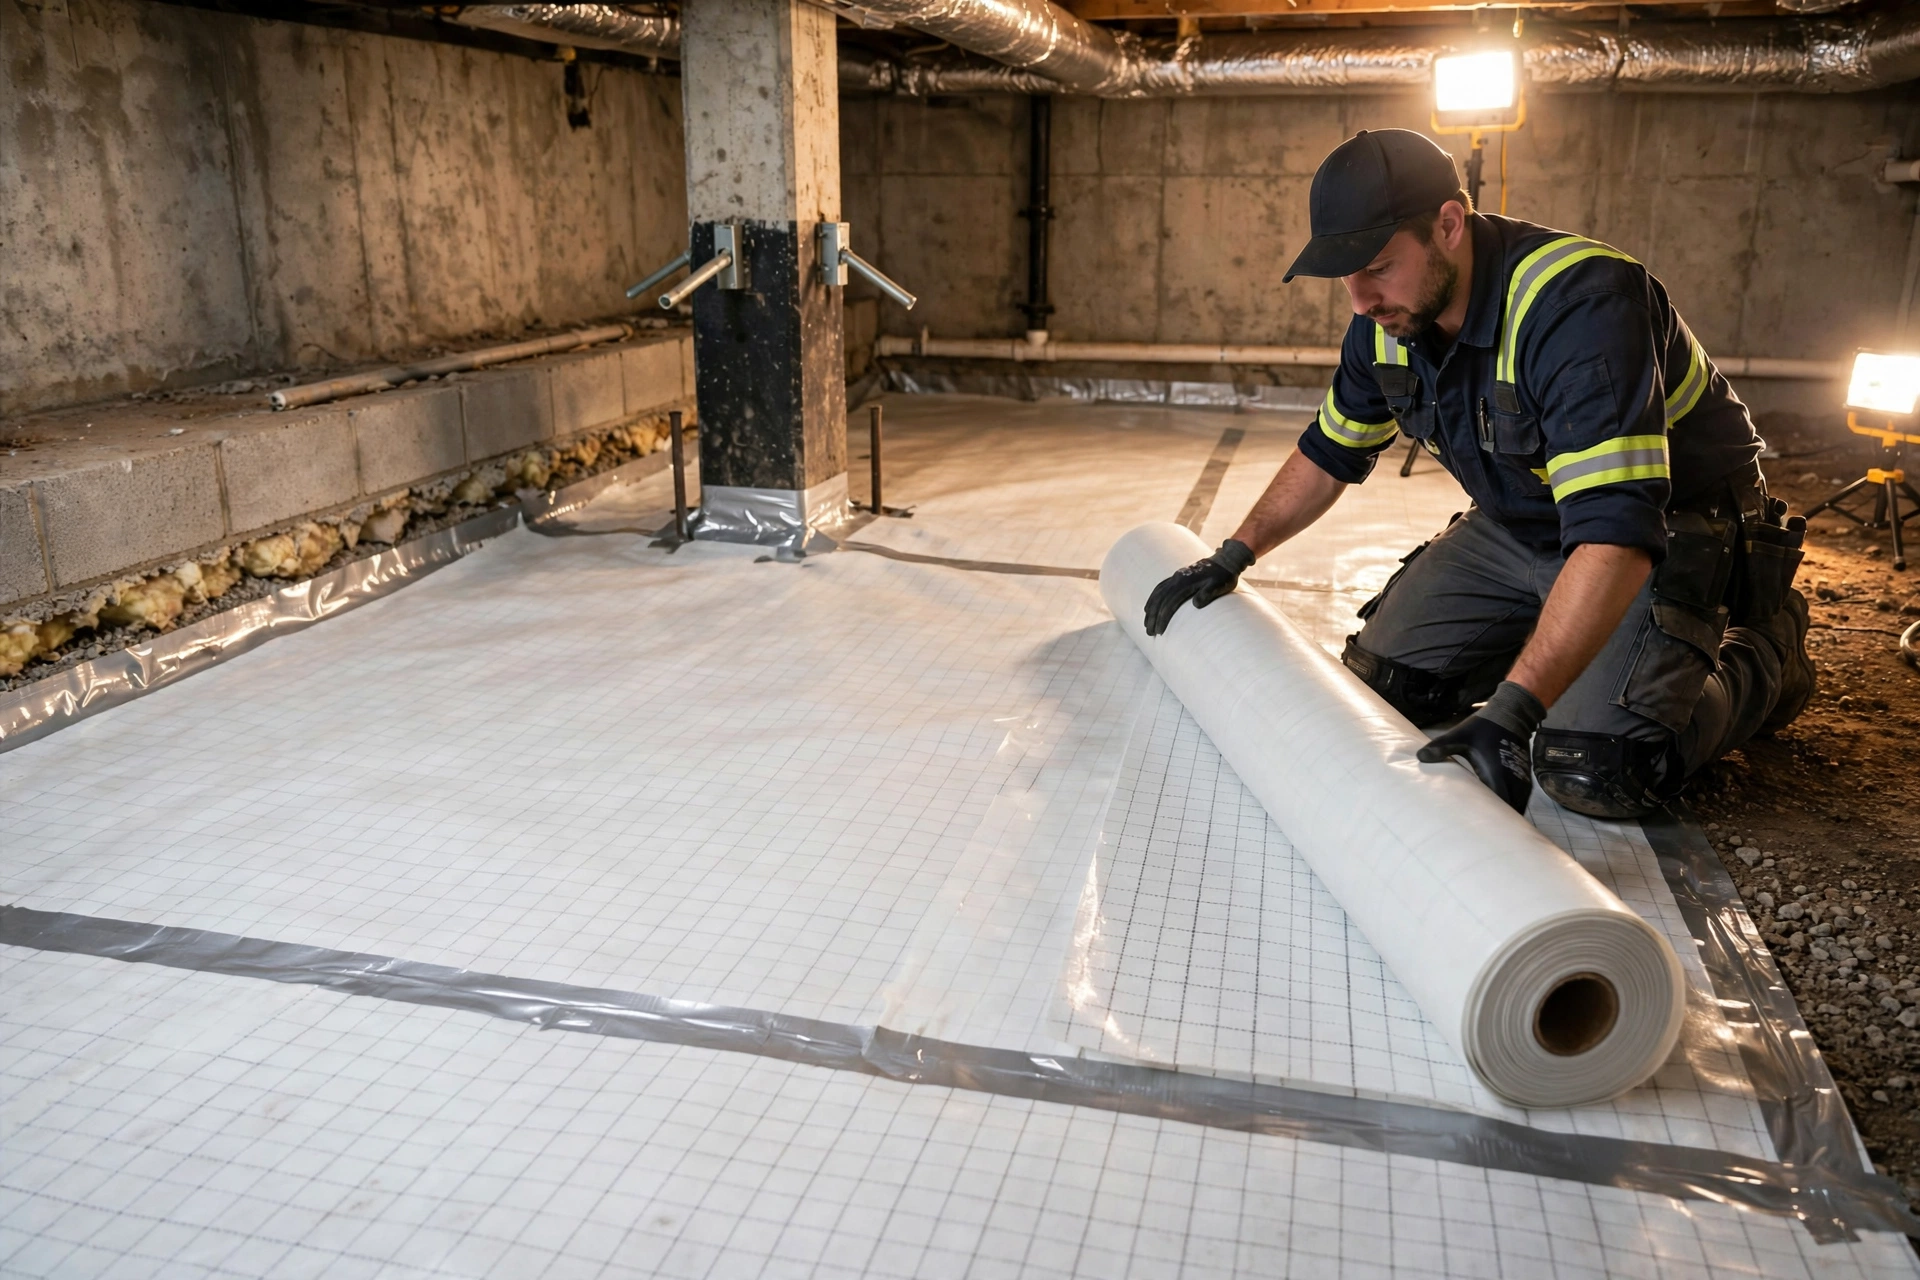
What's the difference between a vapor barrier and full encapsulation?
A vapor barrier is one component — a liner on the ground blocking soil moisture. Full encapsulation is a system: sealed barrier plus closed vents, insulated walls, active dehumidification, and drainage if needed. The barrier handles ground vapor; the system handles ground vapor plus humid air, condensation, and standing water.
Side by side:
| Vapor barrier only | Full encapsulation | |
|---|---|---|
| Blocks ground moisture vapor | Yes | Yes |
| Stops humid air infiltration | No | Yes — vents sealed |
| Controls humidity actively | No | Yes — dehumidifier |
| Handles standing water | No | Yes — drainage first |
| Insulates the space | No | Yes — wall insulation |
| Typical Hoover cost | $1,500 – $4,000 | $5,000 – $15,000 |
The barrier is doing real work — bare soil releases a surprising amount of moisture vapor continuously, and covering it makes a measurable difference. But in Hoover's climate, ground vapor is often the smaller half of the moisture load. The bigger half is humid outdoor air pouring through open foundation vents all summer. A barrier does nothing about that. So the question isn't "is a vapor barrier good?" — it's "is ground vapor your actual problem, or just one of several?"
Every crawl space we work on gets a thorough assessment first. We document moisture levels, structural condition, and drainage patterns before recommending a solution — so you get what your home actually needs, not a one-size-fits-all package.
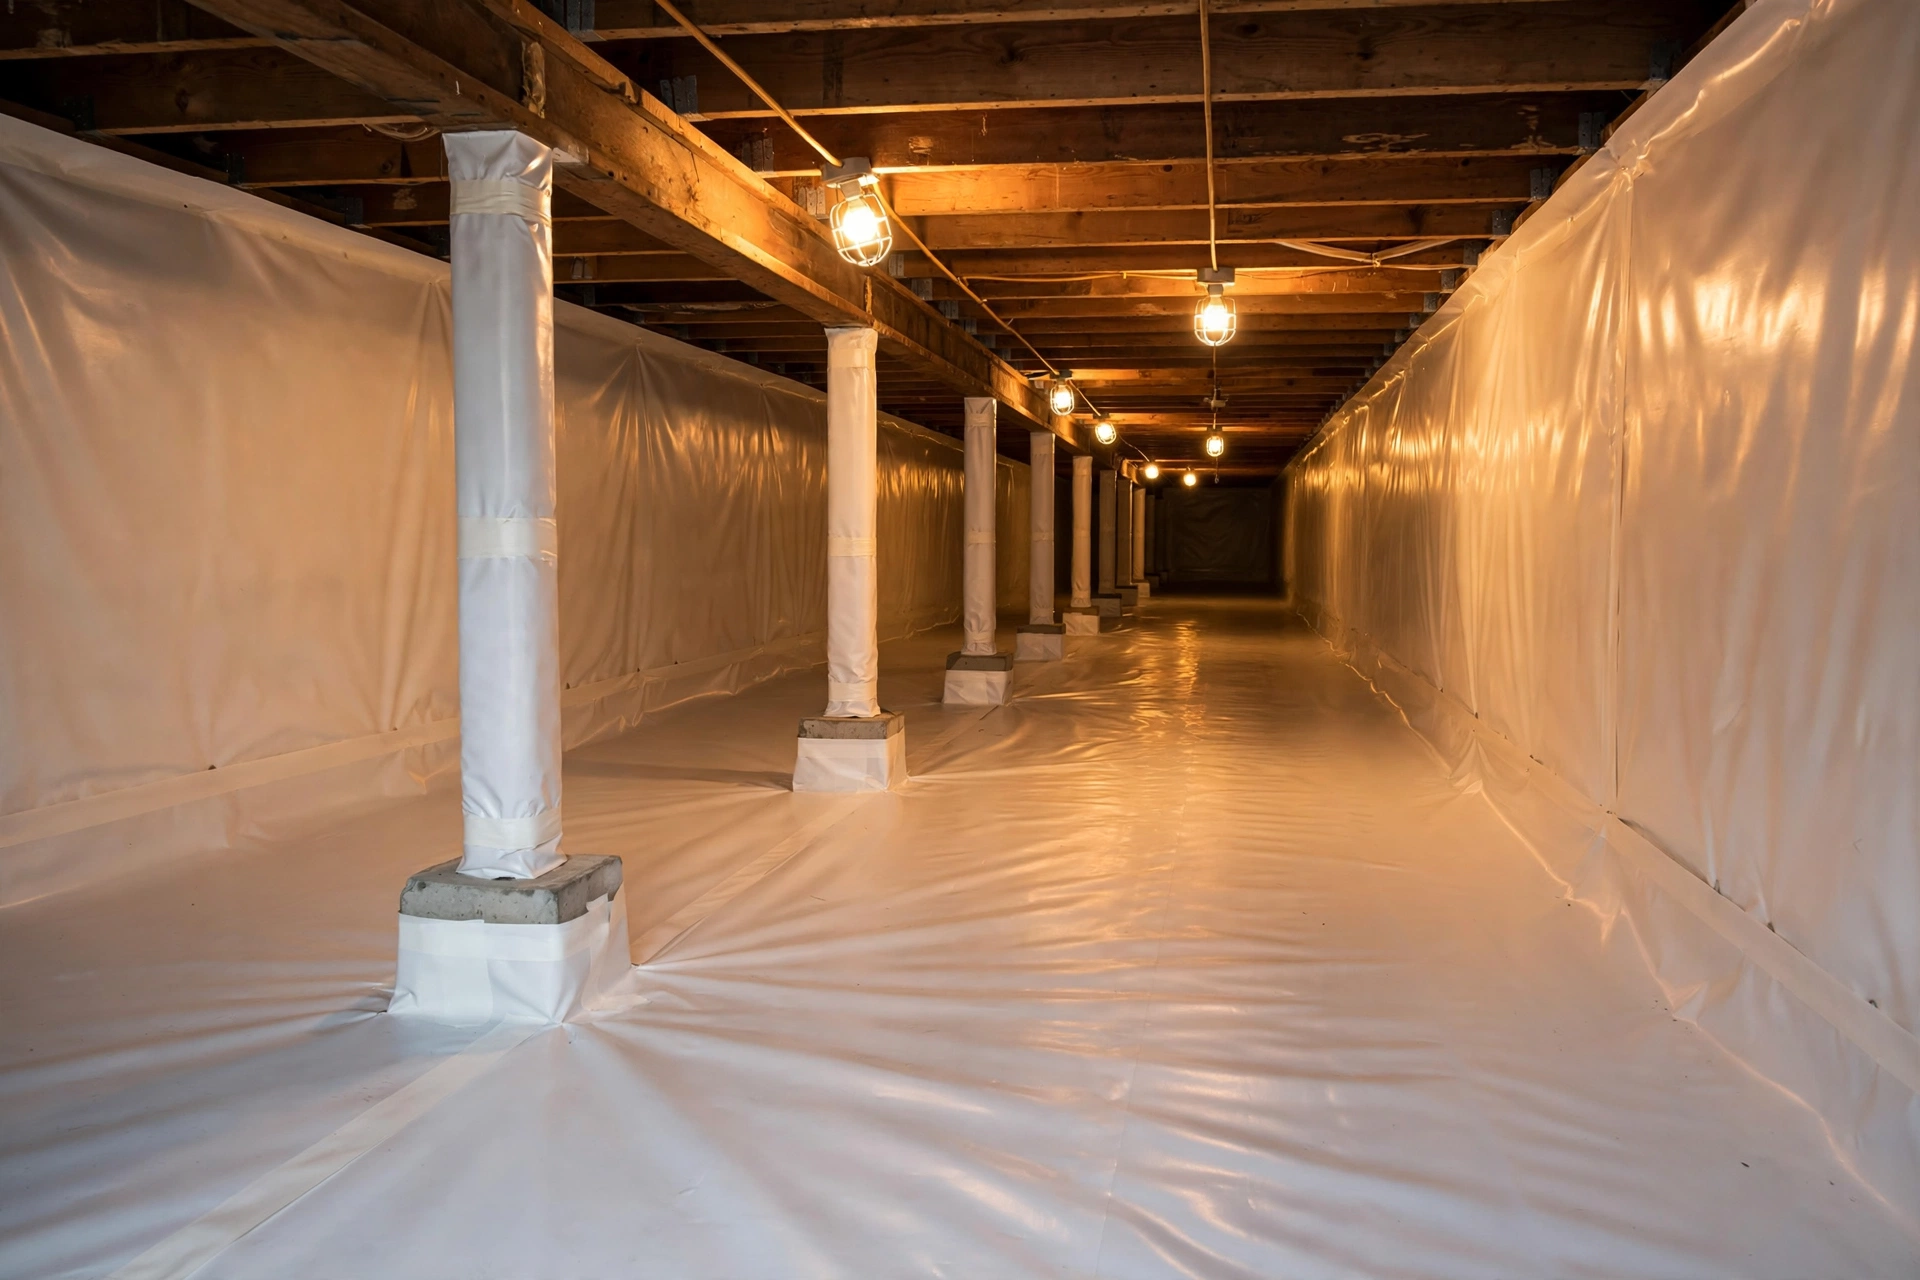
Does mil thickness actually matter?
Yes — enormously. A 6-mil builder-grade sheet tears, punctures, and degrades within 10–15 years. A 12-mil reinforced liner is the minimum we'd install on walls; 20-mil reinforced is our floor standard because it resists foot traffic, resists punctures from debris, and lasts 25+ years. The price difference between 6-mil and 20-mil is small; the lifespan difference is decades.
"Mil" is one-thousandth of an inch, and in vapor barriers it's the single most important spec nobody talks about:
- 6-mil polyethylene: what your builder installed. Unreinforced, fragile, degrades with UV and time. If your Hoover home was built between 2000 and 2010, this is likely what's under there right now — torn, displaced, or disintegrated. Fine as a code checkbox; useless as a long-term solution.
- 12-mil reinforced: woven reinforcement between polyethylene layers. Puncture-resistant, holds up to light traffic. Our minimum for wall applications and our standard for budget-conscious floor jobs where conditions are mild.
- 20-mil reinforced: the workhorse. Handles service traffic (HVAC techs, plumbers, us), resists tears at fasteners and piers, and shrugs off the occasional sharp rock in the soil. This is what we put on floors, and it's what a "lifetime" barrier is made of.
Here's the part that should make you ask questions: some companies quote a "vapor barrier" without specifying mil thickness, then install 6-mil and charge like it's a premium job. Always ask. The material cost difference between 6-mil and 20-mil on an average home is a few hundred dollars — if a quote doesn't specify, you're probably getting the cheap stuff.
When is a barrier alone enough — and when is it a waste of money?
A barrier alone is enough when your crawl space is dry with no moisture history — clean soil, wood moisture under 16%, no mold, no odor, no standing water. It's a waste of money when there's active water intrusion, existing mold, or humidity-driven condensation — those need drainage, remediation, or full encapsulation, and a barrier just covers the evidence.
Honest scenarios from our inspections:
Barrier-only is the right call: A 2015 Greystone home, dry soil, intact-but-aging builder barrier, wood readings at 12–14%, no odor, no history. The homeowner wants protection as the original membrane expires. We install a 20-mil floor and 12-mil walls, sealed and fastened — $2,000–$3,000 — and that home is set for decades. Selling them a $10,000 system would be dishonest.
Barrier-only is a waste: A Bluff Park home with standing water after rain, mold on the joists, and a musty smell upstairs. Laying plastic here doesn't fix the water, doesn't kill the mold, and doesn't stop the humidity. It's $2,500 spent to make the problem invisible for a year. This home needs drainage first, then the full system.
The gray zone: mild dampness, no standing water, wood readings 16–19%, faint mustiness. Here we talk it through: a barrier plus a dehumidifier (without full vent sealing and insulation) is a legitimate middle path — roughly $3,500–$5,500 — that solves the actual problem without the full-system price. Not every home needs the maximum intervention.
We'll give you this assessment straight during the free inspection. If a barrier is enough, that's what we'll quote. Our reputation in Hoover is worth more than upselling you.
What Does Vapor Barrier Installation Cost in Hoover?
Standalone vapor barrier installation in the Hoover area typically runs $1,500–$4,000:
| Barrier scope | Typical range |
|---|---|
| 12-mil floor only, average home | $1,500 – $2,500 |
| 20-mil floor + 12-mil walls, sealed and fastened | $2,500 – $4,000 |
| Barrier + dehumidifier (middle path) | $3,500 – $5,500 |
What drives it: square footage first, then mil thickness and whether walls are wrapped (wrapping walls and piers properly takes real labor — it's not just rolling plastic on the ground). Removal of a failed old barrier adds a few hundred. Accessibility matters: a 4-foot clearance crawl space installs fast; an 18-inch belly-crawl doubles the labor time.
Common Questions About Vapor Barriers
Can I install a vapor barrier myself?
You can — it's physically straightforward — but most DIY jobs fail at the details: insufficient overlap, unsealed seams, no wall fastening, and punctures that go unpatched. A DIY 6-mil job typically underperforms a professional 20-mil install significantly.
If you're handy and your crawl space is dry, accessible, and in good shape, a DIY barrier is a reasonable weekend project. But if there's any mold, water, or structural concern, the prep work matters more than the plastic — and that's where professionals earn their keep. We're happy to inspect first and tell you honestly whether it's a DIY candidate.
How long does a vapor barrier last?
A 20-mil reinforced barrier, properly installed: 25+ years. A 12-mil reinforced: 15–20 years. A 6-mil builder sheet: 10–15 years before it tears and degrades — which is why so many 2000s Hoover homes need replacement right now.
Lifespan killers: standing water underneath (barrier floats and tears at fasteners), unsealed seams that peel, and traffic damage from workers who don't respect the liner. Installation quality matters as much as material.
Should the vapor barrier go up the walls?
Yes — running the liner 6–12 inches up the foundation walls and sealing it creates a continuous envelope instead of a ground cover with gaps at the edges. This is one of the biggest differences between a proper install and plastic thrown on the dirt.
Moisture doesn't just rise from the soil in the middle of the space — it migrates through the wall-floor joint and wicks up the foundation walls. A floor-only barrier leaves those paths open. Wall attachment with mechanical fasteners and sealant closes them.
Will a vapor barrier stop mold?
It prevents new ground-moisture-driven mold, but it won't kill existing mold or stop humidity-driven mold on joists. If mold is already present, it needs remediation first — sealing over it just hides it.
And if your mold is feeding on humid air (condensation on ducts and joists) rather than ground vapor, a barrier alone won't starve it. That's the scenario where the full encapsulation system — barrier plus dehumidification — is the actual fix. How we handle mold →
What's the difference between a vapor barrier and a vapor retarder?
It's a permeability rating: true vapor barriers (Class I, ≤0.1 perm) block nearly all vapor transmission, while retarders (Class II–III) slow it. The 20-mil reinforced liners we install are true Class I barriers.
In practice, for crawl space floors in our climate, you want the barrier — the real thing. Thinner "retarder" products have their place in wall assemblies, but on the ground under a Hoover home, maximum blockage is the goal.
Barrier, Middle Path, or Full System?
Our free inspection tells you which one your home actually needs — with moisture readings and photos to back it up. No upsell, no pressure.
- Moisture readings that determine the right scope
- Mil thickness specified in every quote
- Barrier-only quoted honestly when it's enough
- Photos of your current barrier's condition
Prefer to talk? (205) 208-7286